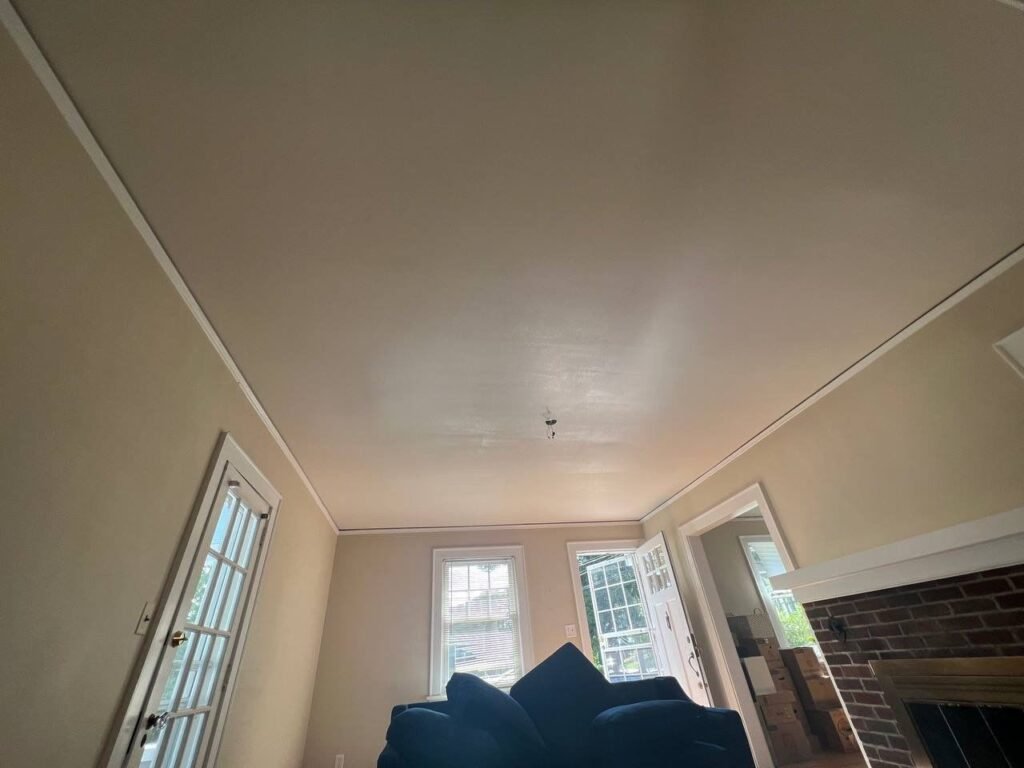
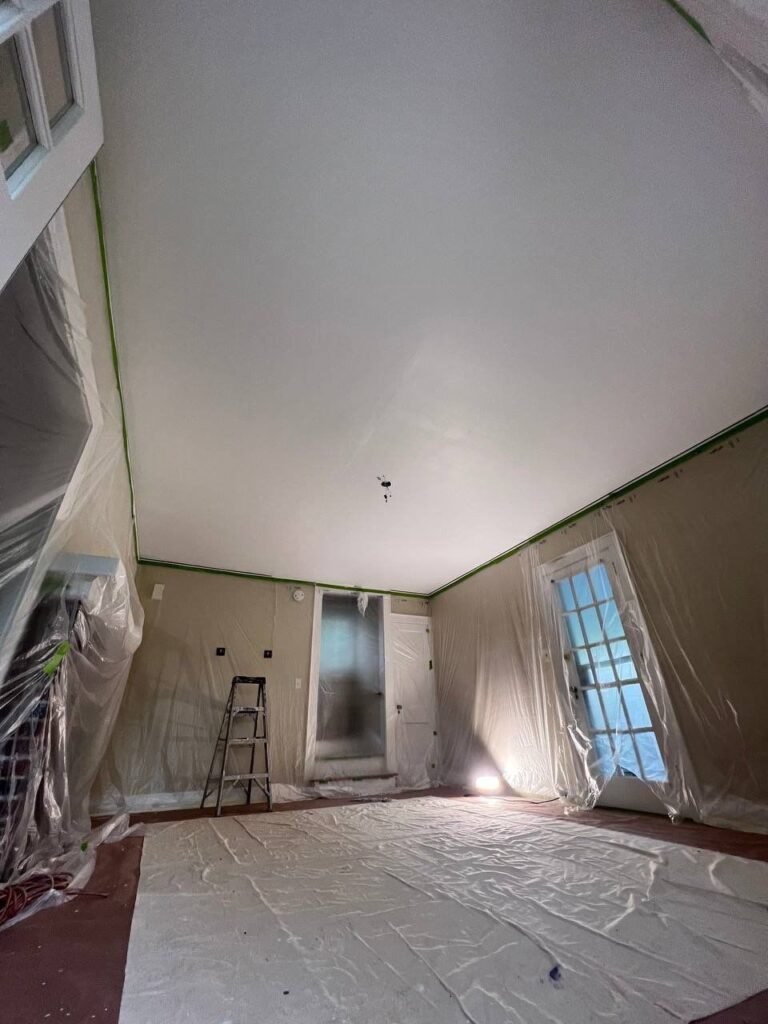
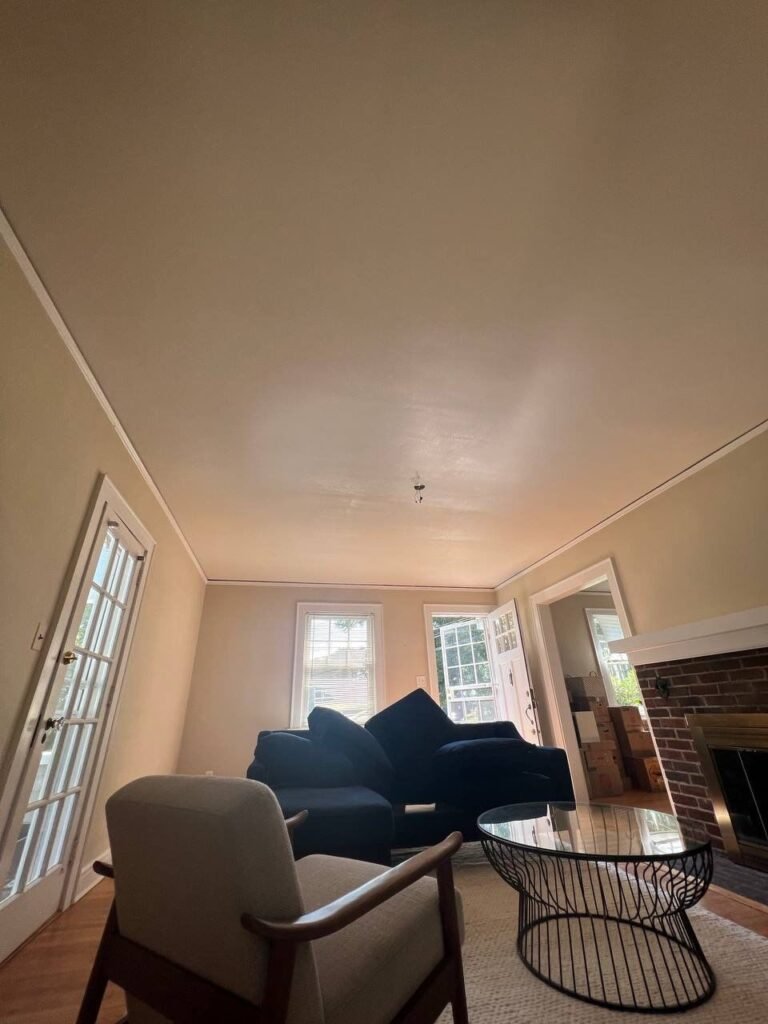
A pristine paint job begins with a flawless surface. In many U.S. homes, drywall can suffer from everyday wear and tear, leading to unsightly blemishes like nail pops, cracks, and holes. Ignoring these imperfections before painting can lead to a less-than-professional finish that highlights rather than hides the damage. Genesis Pro Painting outlines the essential steps for seamless drywall repair and painting, ensuring your walls are perfectly prepped for a stunning new look.

Diagnose: Nail pops, cracks, holes
Before you can fix the problem, you need to accurately diagnose the type and extent of drywall damage.
- Nail Pops (or Screw Pops): These appear as small, circular protrusions or cracks around fasteners in your drywall. They occur when the drywall expands and contracts, pushing the nail or screw head out from behind the joint compound, or when the framing lumber dries and shrinks, allowing the fastener to protrude.
- Diagnosis: Run your hand over the wall to feel for bumps. Look for small, raised circles or spiderweb-like cracks directly over where a fastener would be.
- Cracks: These can range from hairline fractures to more significant fissures.
- Hairline Cracks: Often cosmetic, resulting from minor house settling or paint drying.
- Larger Cracks: Can indicate more significant structural movement, poorly taped seams, or excessive humidity. Look for cracks along seams (straight lines) or in corners.
- Holes: These can vary from tiny nail holes to large punctures.
- Small Holes (e.g., Picture Hanger Holes): Easy to fill with spackle.
- Medium Holes (e.g., from a doorknob): Require a patch, often with mesh tape or a small drywall repair kit.
- Large Holes (e.g., from impact): May necessitate cutting out a section of drywall and installing a new piece with backing supports.
Proper diagnosis helps you choose the right repair method and materials, ensuring a lasting fix.
Repair steps: Widen, spackle, tape, compound
Once diagnosed, meticulous repair is key. The specific steps depend on the type of damage:
For nail pops:
- Secure the Fastener: Use a screwdriver or drill to drive the existing screw deeper until its head is slightly recessed below the drywall surface. If it’s a nail, gently tap it back in with a hammer, but avoid breaking the drywall paper.
- Add New Screws: To prevent re-occurrence, install two new drywall screws, one about 1-2 inches above and one 1-2 inches below the popped fastener, driving them into the stud until their heads are just below the surface.
- Scrape & Clean: Scrape off any loose drywall or old compound around the area with a putty knife. Wipe away dust.
- Apply Compound: Apply a thin layer of all-purpose joint compound (or lightweight spackle for very minor pops) over the recessed screws/nails, feathering the edges outwards.
For small cracks & nail holes:
- Clean & Widen (Cracks): For hairline cracks, gently widen them slightly with a utility knife to create a “V” groove. This allows spackle to penetrate better. Clean away any loose debris.
- Apply Spackle/Compound: For small holes or hairline cracks, use a lightweight spackle or spackling compound. Apply with a putty knife, ensuring it fills the void completely and is flush with the wall surface. For slightly larger cracks, a thin layer of all-purpose joint compound is best.
For larger cracks (over 1/8 inch wide) or medium holes (up to 6 inches):
- Clean & Widen (Cracks): As above, but for wider cracks, consider lightly sanding or scraping the edges to ensure good adhesion.
- Apply Tape: For cracks, apply self-adhesive fiberglass mesh drywall tape directly over the crack, centering it. For medium holes, use a self-adhesive drywall patch (which has mesh built-in).
- First Coat of Compound: Apply a thin, even layer of all-purpose joint compound over the tape or patch, extending slightly beyond the edges. Use a 6-inch or 8-inch drywall knife, holding it at a slight angle to feather the edges. Allow to dry completely (check manufacturer’s instructions, typically several hours).
- Second Coat of Compound: Once dry, apply a second, slightly wider coat of joint compound, feathering the edges even further out. This coat helps to smooth out any imperfections from the first. Allow to dry completely.
- Third Coat (Optional but Recommended): For a truly seamless finish, apply a very thin, wide final coat using a 10-inch or 12-inch drywall knife, feathering the edges meticulously. This “skim coat” ensures a perfectly flat surface. Allow to dry completely.
For large holes (over 6 inches):
- Cut & Frame: Cut out the damaged drywall into a neat square or rectangle. Cut two pieces of wood furring strips (longer than the height of the hole) and slide them behind the drywall on either side of the opening, securing them with screws through the existing drywall.
- Install New Drywall Piece: Cut a new piece of drywall to fit snugly into the hole. Screw it into the wooden furring strips.
- Tape & Compound: Apply paper joint tape or fiberglass mesh tape over all four seams of the new patch. Then follow the same multi-coat joint compound process as described for medium holes, applying thin, feathered layers over the tape.
Sanding & smoothing
Sanding is where the repair truly disappears. This step requires patience and a light touch.
- Choose the Right Grit:
- First Sanding: After the final coat of compound is dry, use a medium-grit sanding sponge or 120-150 grit sandpaper on a sanding block or pole sander. This removes any major ridges or high spots.
- Final Sanding: Finish with a fine-grit sanding sponge or 220-grit sandpaper for a super smooth finish.
- Sanding Technique:
- Light Pressure: Apply very light, even pressure. Too much pressure can create depressions or sand through the compound.
- Broad Strokes: Use broad, sweeping motions, especially with a pole sander, to create a flat, even surface and blend the patch seamlessly into the surrounding wall.
- Feather the Edges: Focus on feathering the edges of the patch into the existing wall, ensuring no visible lines or humps.
- Check with Light: Shine a bright work light at a sharp angle across the wall. This will highlight any imperfections, ridges, or low spots that need more sanding or a tiny bit more compound. Repeat until the surface appears perfectly flat and smooth from all angles.
- Dust Removal: After sanding, thoroughly wipe down the entire wall with a damp cloth or tack cloth to remove all dust. Dust left on the wall will prevent proper primer and paint adhesion, leading to a gritty finish.
Prime patched area or full wall
Priming is a non-negotiable step after drywall repair to ensure an even, consistent paint finish.
- Why Prime?
- Sealing Porous Surfaces: Joint compound and bare drywall paper are highly porous and absorb paint differently than painted surfaces. Primer seals these areas, preventing “flashing” (uneven sheen or blotchy appearance) in the final paint coats.
- Adhesion: Primer provides a uniform, receptive surface for the new paint to adhere to, promoting durability.
- Stain Blocking (Optional): If the damage involved water stains, use a stain-blocking primer to prevent bleed-through.
- Spot Priming: For small repairs like nail pops or tiny holes, you can often spot-prime just the patched areas. Apply one coat of a quality interior primer, feathering the edges slightly beyond the patch.
- Full Wall Priming:
- Recommended For: Large repairs covering a significant portion of the wall, or if there are multiple repairs spread across the wall.
- Essential For: New drywall installations or when changing from a very dark to a very light paint color (or vice versa).
- Benefits: Ensures maximum uniformity in sheen and color across the entire wall.
- Primer Type: Use a dedicated drywall primer-sealer for new drywall, or a high-quality all-purpose interior primer for previously painted walls with repairs.
Paint for even finish
With proper prep and priming, painting over repairs becomes straightforward.
- Match Sheen & Color: Use the exact same paint color and sheen as the rest of the wall. Even a slight variation in sheen (e.g., eggshell vs. satin) will make the patch visible.
- First Coat Over Patch: If you spot-primed, apply a first coat of your finish paint specifically over the primed patch. Feather the edges outwards. This helps the patched area blend in before you paint the entire wall. Allow to dry.
- Full Wall Application: Apply your finish paint to the entire wall using a roller and brush for cutting in.
- Technique: Use consistent, overlapping strokes. Maintain a wet edge to avoid lap marks.
- Number of Coats: Two full coats are typically recommended for optimal color depth, durability, and a uniform finish, especially over repaired areas.
- Allow Proper Drying: Ensure each coat dries completely according to the manufacturer’s instructions before applying the next. Rushing can lead to poor adhesion and an uneven finish.
Pro tips: Blind patch transitions, blending
Achieving a truly seamless repair goes beyond the basics.
- “Blind” Patch Transitions: When repairing large holes or areas, the goal is to make the patch visually disappear.
- Feathering is Key: Professionals “feather” their joint compound layers out significantly wider than the actual patch or crack. This gradual transition makes it impossible for the eye to detect where the repair ends and the original wall begins. Think of it like a gentle slope, not a sharp edge.
- Multiple Thin Coats: Always prefer multiple thin coats of compound over one thick coat. Thin coats dry faster, are less prone to cracking or shrinking, and are easier to sand smooth.
- Back-Rolling Patches: After applying the topcoat over a patched area, a pro might lightly “back-roll” the area with a very lightly loaded roller that has the same texture as the rest of the wall. This can help subtly blend any texture differences caused by the repair.
- Lighting Check: Continuously check your work under different lighting conditions. A work light held at an angle (raking light) is indispensable for revealing subtle imperfections. Check from different distances and angles.
- Texture Matching: For textured walls (e.g., orange peel, knockdown), professional painters will meticulously match the texture before painting. This involves specialized spray guns or techniques with thinned joint compound. Without matching the texture, the patch will always be visible.
- Quality Materials: Investing in high-quality joint compound (e.g., lightweight all-purpose or topping compound), durable drywall tape, and premium primers and paints makes the job easier and results in a superior finish.
- Patience: Drywall repair is more about patience than speed. Allow each coat of compound and primer to dry fully before proceeding. Rushing will almost guarantee a noticeable repair.
By applying these meticulous techniques, Genesis Pro Painting ensures that drywall imperfections become a forgotten past, leaving your home with beautifully smooth, paint-ready walls.


Are unsightly drywall blemishes compromising your home’s interior? Genesis Pro Painting offers expert drywall repair and seamless painting services, ensuring your walls are perfectly smooth and ready for a flawless finish. Contact us today for a professional consultation and a free estimate!
