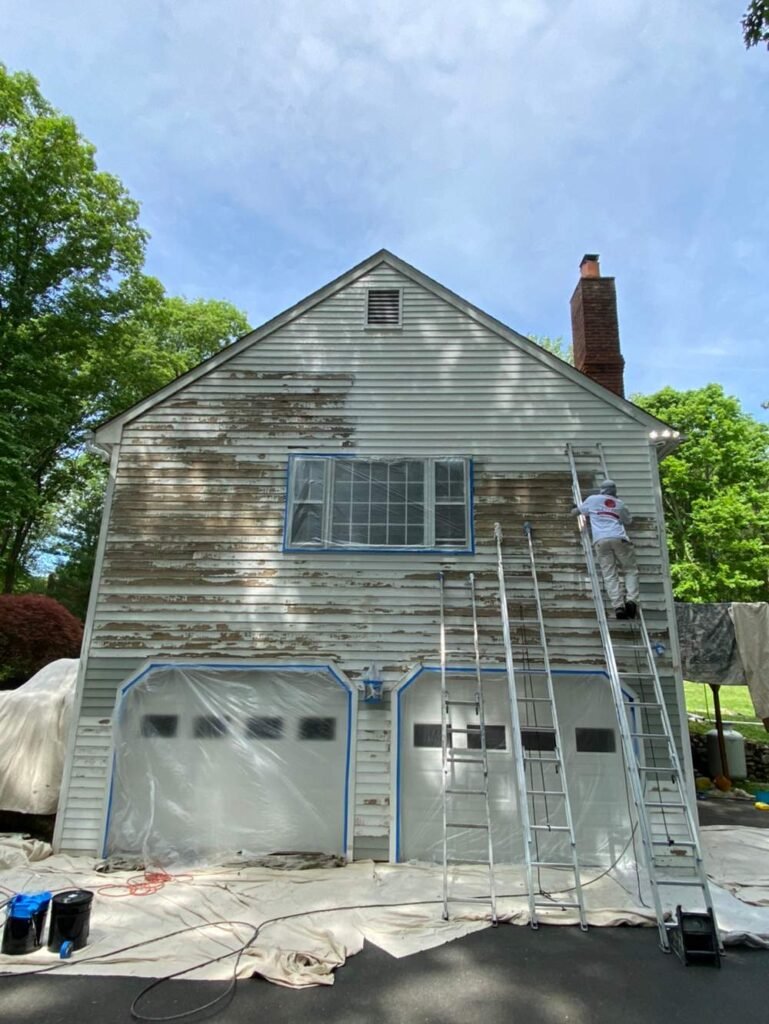
Few home improvement projects offer such a dramatic and immediate transformation as a fresh coat of paint. A painting makeover can completely refresh a space, alter its mood, and enhance its perceived size and brightness. The magic lies not just in the new color, but in meticulous preparation and professional technique.
Why before/after visuals matter
“Before and after” visuals are compelling because they:
- Show Impact: Clearly demonstrate the profound difference paint can make on a space’s atmosphere and appearance.
- Inspire Ideas: Give homeowners tangible examples and inspiration for their own projects.
- Build Confidence: Highlight the power of professional painting to achieve stunning results.
- Showcase Skill: For professionals, they prove the quality of workmanship, from prep to finish.
Key prep for dramatic results
The secret to a stunning paint makeover is often hidden beneath the surface – in the prep work.
- Clear the Room: Remove all furniture, décor, and wall hangings. If furniture cannot be moved, consolidate it to the center of the room and cover it thoroughly with plastic sheeting.
- Protect Surfaces: Lay down drop cloths or tarps on all flooring. Use painter’s tape to protect trim, windows, doors, and outlets.
Cutting-in: edges, trim, ceilings first
- Precision Edges: “Cutting-in” refers to painting the edges where walls meet ceilings, trim, and other walls. This is done by hand with a brush before rolling the main wall areas.
- Sequence: Typically, ceilings are painted first, then trim (doors, windows, baseboards), and finally the walls. This allows for cleaner lines and easier cleanup.
Wall prep: caulking, sanding, cleaning
- Inspection & Repair: Thoroughly inspect walls for nail holes, cracks, dents, and imperfections.
- Patching: Fill all holes and cracks with spackle or joint compound. Allow to dry completely.
- Sanding: Lightly sand patched areas and any rough spots until smooth. For a truly smooth finish, consider a light overall sanding of the walls. Wipe off all dust thoroughly.
- Caulking: Apply painter’s caulk to seal gaps between baseboards, trim, and walls.
- Cleaning: Wash walls with a mild detergent solution to remove dirt, grease, and grime. Rinse thoroughly and allow to dry completely. This step is crucial for paint adhesion.
- Priming: Apply primer over patched areas, bare drywall, or if you are making a drastic color change. Primer ensures uniform color, better adhesion, and a more durable finish.
Choosing tools & paint
- Quality Tools: Invest in good quality brushes (angled sash brushes for cutting-in), rollers (appropriate nap for your wall texture), and painter’s tape. Quality tools lead to better results and less frustration.
- Premium Paint: Choose a high-quality paint that matches the room’s function (e.g., washable satin for kitchens, flat for ceilings). Premium paints offer better coverage, durability, and a smoother finish.
Color impact & mood shifts
The right paint color can instantly transform a room’s mood and perceived size:
- Light Colors: Make a room feel larger, brighter, and more open. Ideal for small spaces or rooms lacking natural light.
- Dark Colors: Can create a cozy, intimate, or sophisticated ambiance. Best for larger rooms or accent walls.
- Warm Colors (Reds, Oranges, Yellows): Evoke energy, comfort, and warmth.
- Cool Colors (Blues, Greens, Purples): Create a sense of calm, serenity, and spaciousness.
- Neutrals (Grays, Beiges, Whites): Provide a versatile backdrop, allowing furniture and décor to stand out.
Showcasing popular transformations
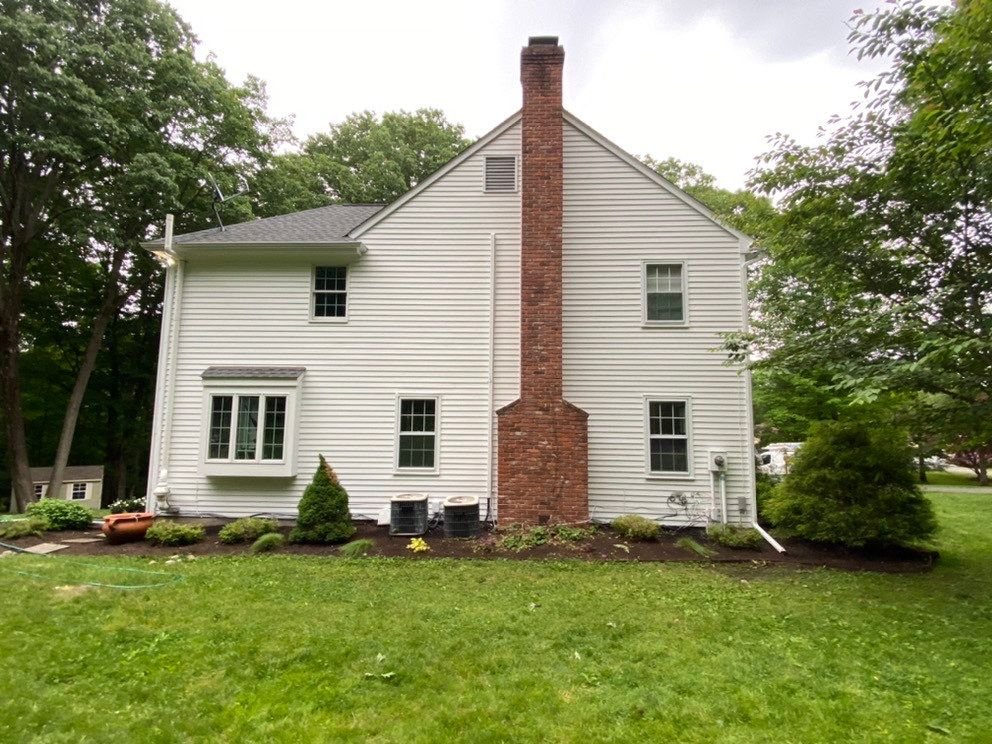
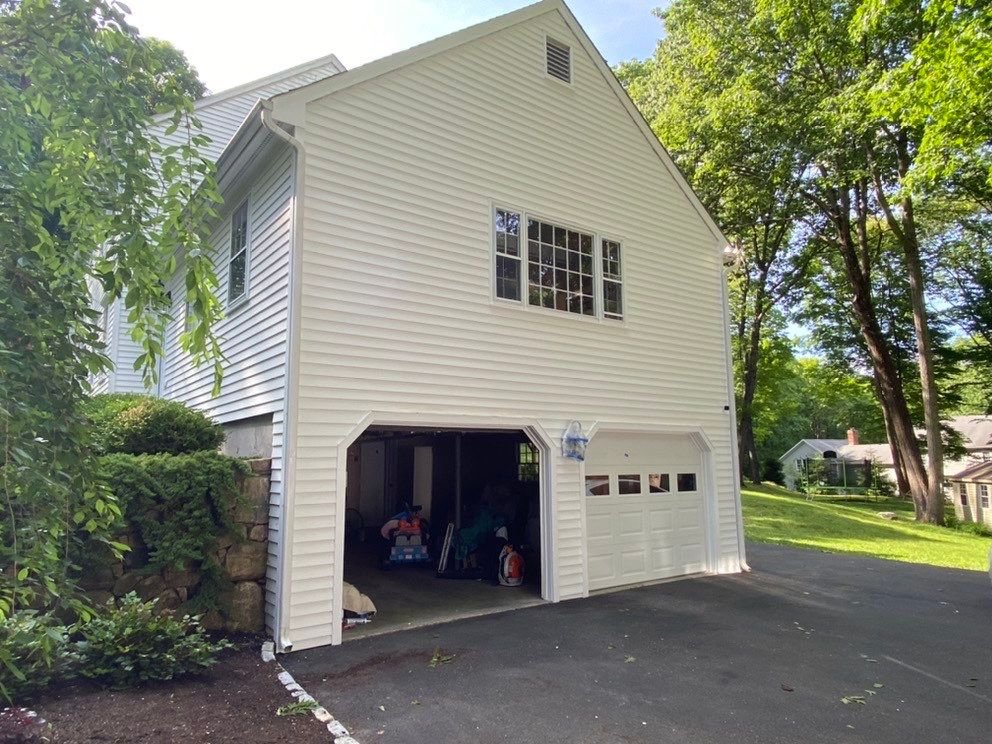
(Placeholder: In a live blog, this section would feature actual project photos and brief descriptions of “before and after” painting makeovers completed by Genesis Pro Painting, highlighting different rooms, color choices, and the dramatic impact achieved. For this response, I’ll keep it as a heading.)
DIY tips to replicate professional results
- Take Your Time with Prep: This is the most important step. Don’t rush it.
- Use Quality Tape & Technique: Apply painter’s tape firmly and remove it carefully when the paint is still slightly wet for crisp lines.
- Load Roller Evenly: Don’t overload the roller. Apply paint in ‘W’ or ‘M’ patterns, then fill in, ensuring even coverage.
- Two Thin Coats are Better Than One Thick Coat: Multiple thin coats dry better, look smoother, and are more durable.
- Ventilate: Open windows to allow for proper drying and reduce fumes.
- Don’t Rush Drying Times: Allow recommended drying time between coats.
Genesis Pro Painting specializes in creating stunning painting makeovers. Our meticulous preparation and expert application techniques ensure a flawless finish that revitalizes your home’s interior, providing a beautiful transformation that lasts. Let us help you achieve your dream space.